
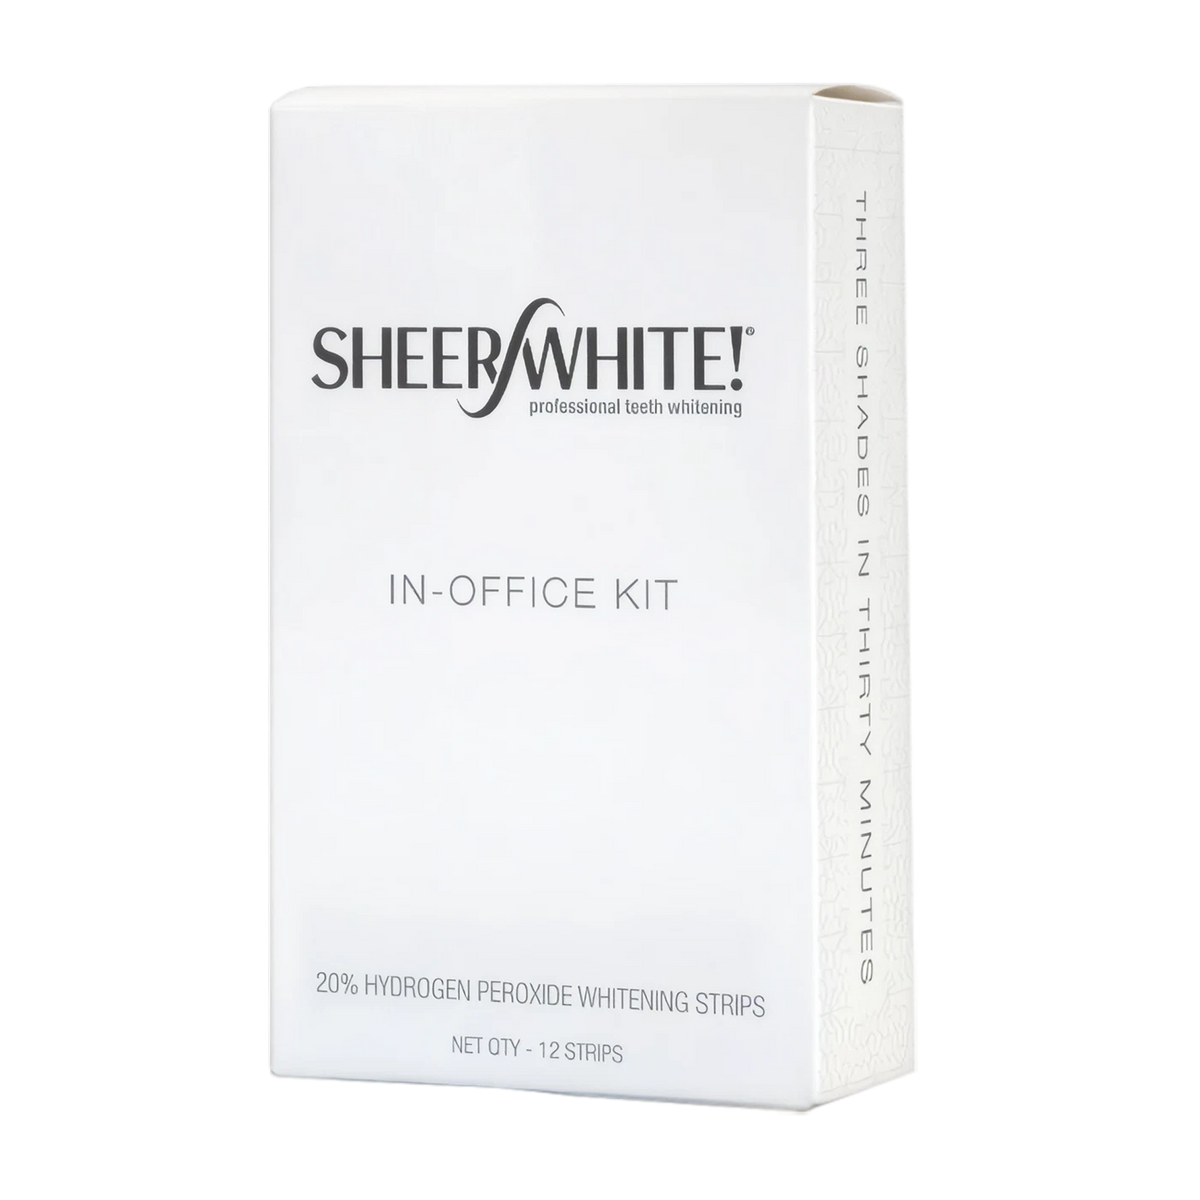
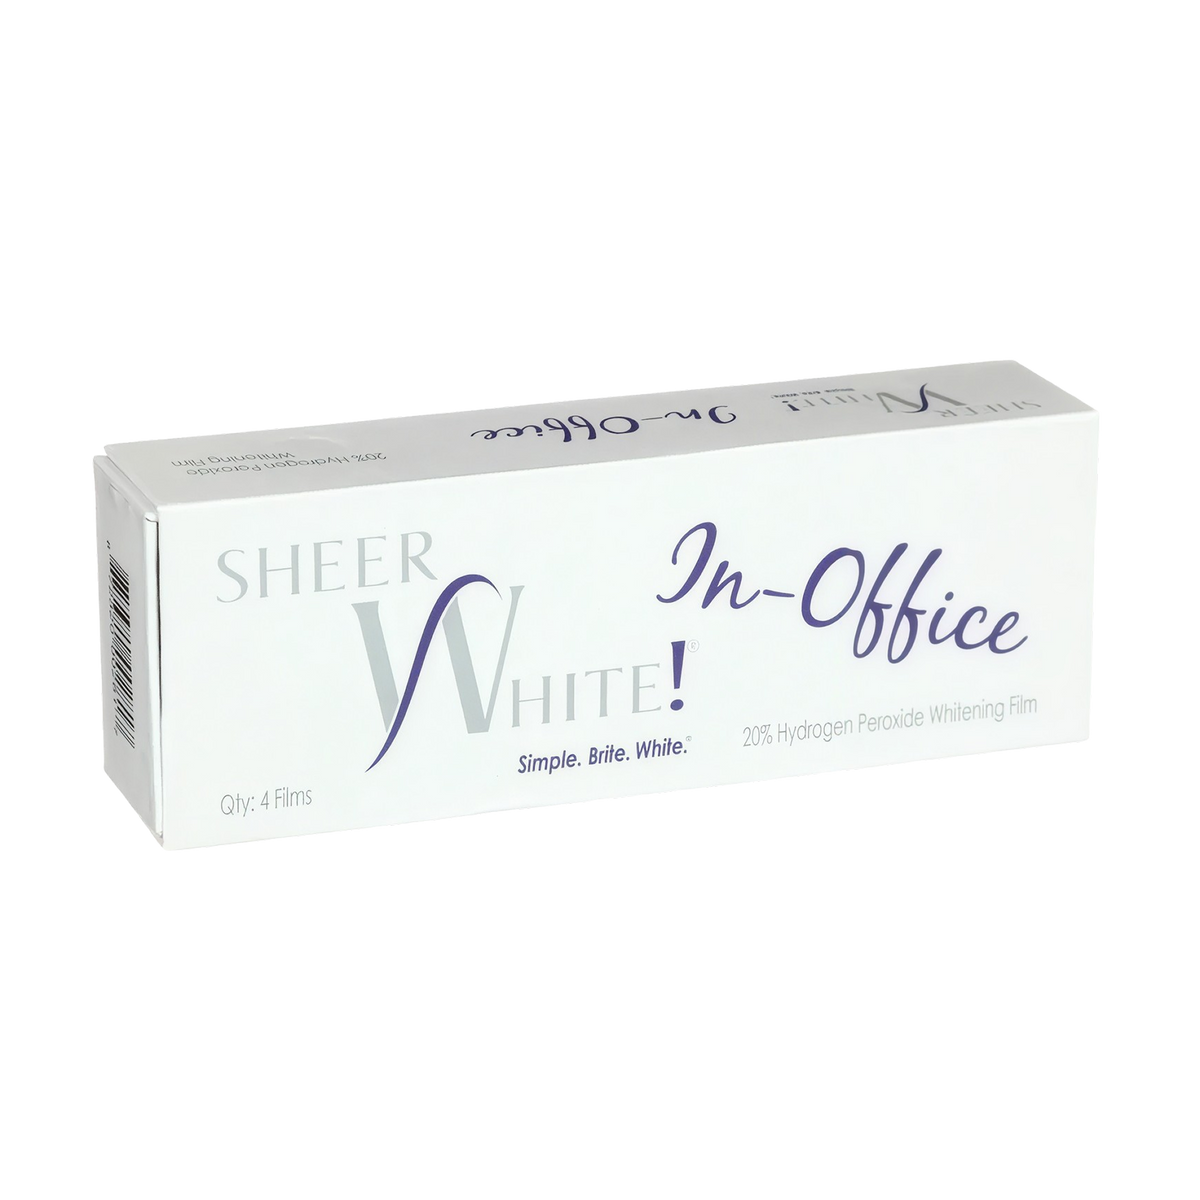
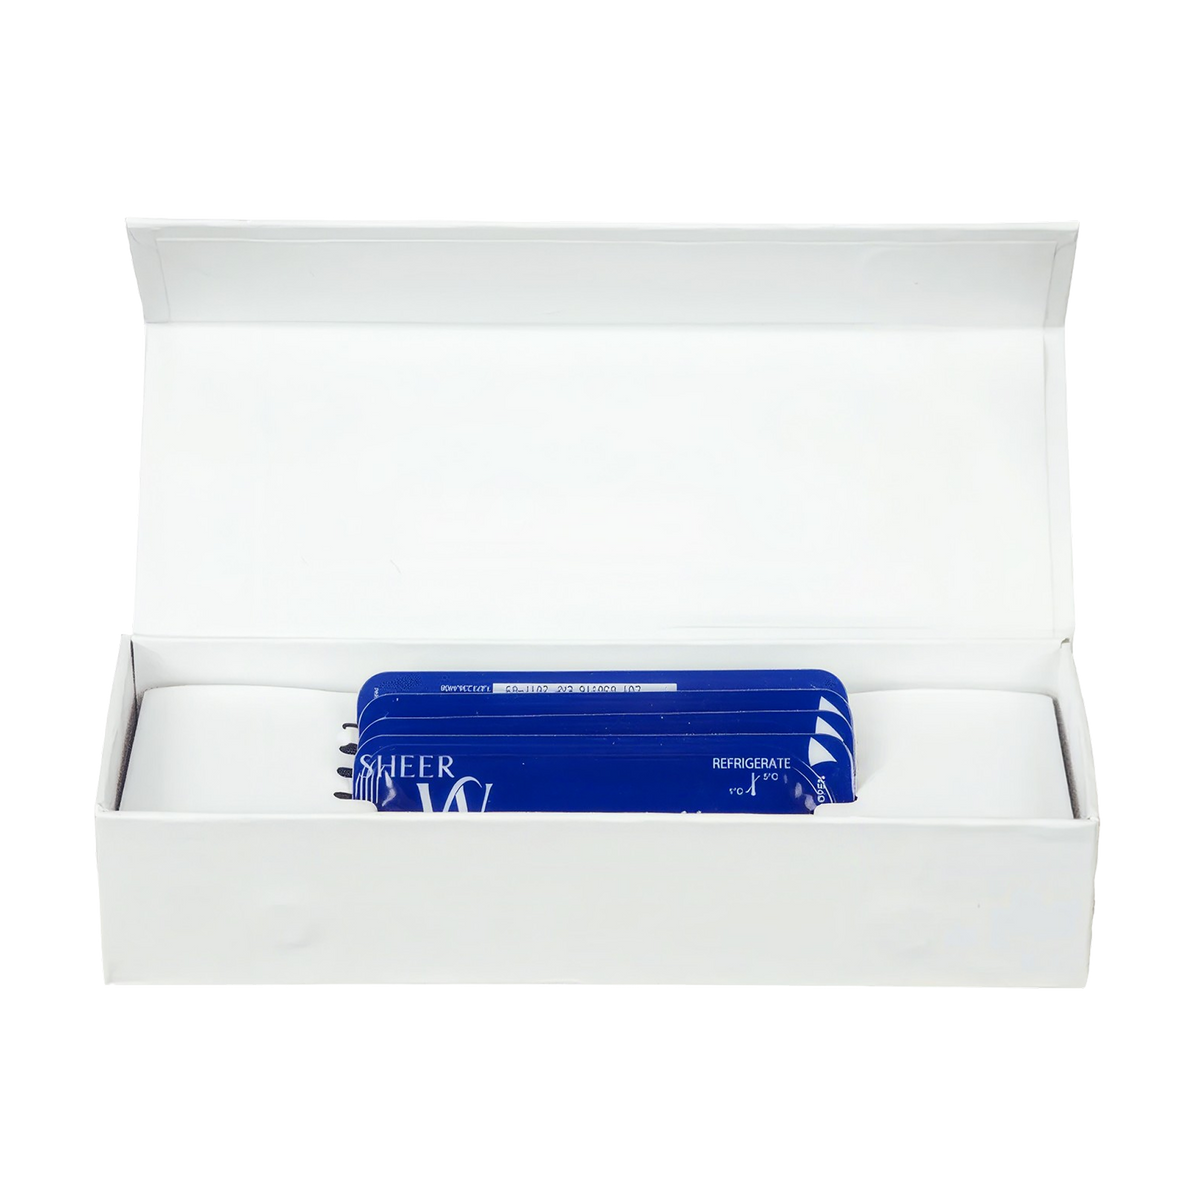
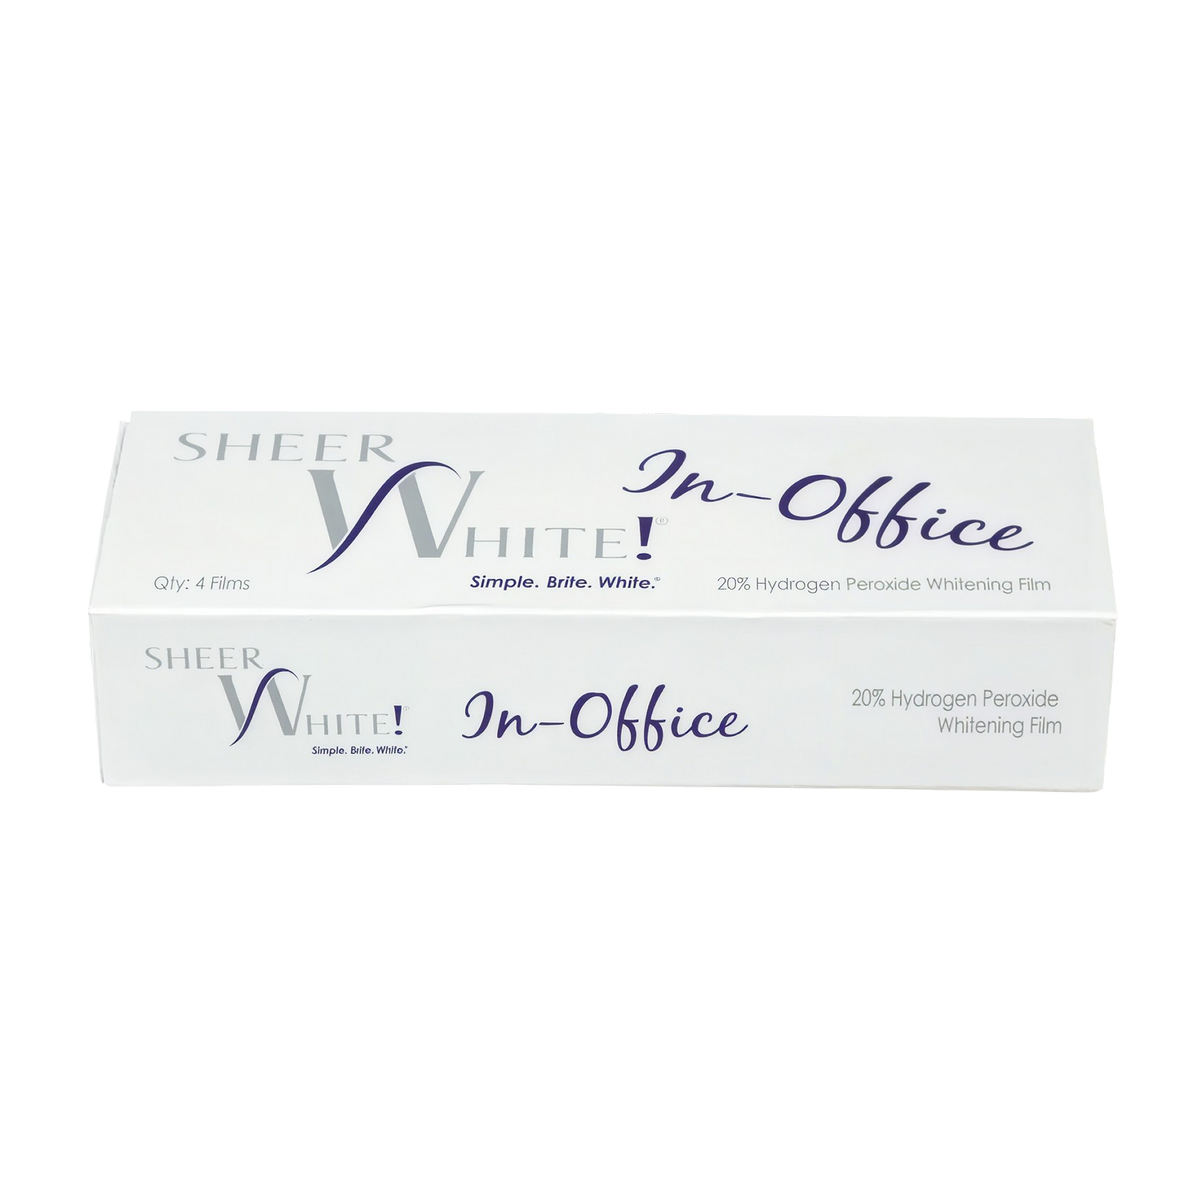
Sheer White whitening strips, in-office (006-00251)
The Sheer White! In-office whitening strips, available from All Practice Solutions, use a trayless design to deliver a 20% hydrogen peroxide whitening treatment without impressions, custom trays, or soft-tissue isolation. The strips are built on patented SheerFilm® non-slip technology, applied to the upper and lower arches in about a minute and worn for 30 minutes total—patients can even sip cool water during treatment and can wait in the reception area rather than tying up a chair. AMD Lasers reports up to three shades of whitening per in-office application and up to eight shades total when paired with the Sheer White! take-home strips. The formula is designed to reduce potential sensitivity.
Choose options

Sheer White! Professional In-Office Whitening Strips
Sheer White! In-Office 20% hydrogen peroxide strips use our patented SheerFilm® non-slip technology to achieve up to three shades of whitening in only 30 minutes after a simple, one-minute application in your office. For best results, pair with Sheer White! Take-Home strips.
Features:
- 20% hydrogen peroxide
- Patented SheerFilm® technology
- 30-minute wear time
Available Options:
- Patient Pack with two applications
- Value Pack with six applications
- Monthly subscription

It’s Only the Beginning
Sheer White! In-Office is just the first step of your patients’ smile whitening journey. Pair your in-office whitening treatment with Sheer-White! Take-Home strips to provide even more dramatic results—up to five additional shades of whitening in five days, or eight total shades in less than a week. With the complete Sheer White! system, your patients can take control of their smile like never before.

Clinical Results at OTC Prices
Over-the-counter whitening strips are more popular than ever due to their convenience and affordability. Even though professional whitening treatments produce better results, they are also costly and time-intensive. Patients spend hundreds of dollars for a whitening session that might take up to three hours and involve significant discomfort.
Sheer White! solves this problem. After a quick one-minute application at the end of the appointment, patients are free to sit in your waiting room and even drink water during the 30-minute wear time—all while saving significant money compared to other common treatments.

Drive Production and Growth
While more patients than ever are asking for whitening, it’s hard for many practices to make it work. Let’s face it: tying up an operatory for two to three hours while a patient’s whitening treatment takes place can seriously impact production and productivity. Just as Sheer White! makes whitening easier and more affordable for patients, it makes it more economical for practices. Now you can add whitening to your growth and patient retention playbook without worrying about sacrificing production or profitability.

How Do the Sheer White Strips Work?

Apply the active surface to the teeth. Position the top of the strip where the teeth and gums meet. Make sure all visible tooth surfaces are covered by the strip.

Remove the strip from the tray. Remove the release liner from the strip. The active gel is the side that was touching the release liner.
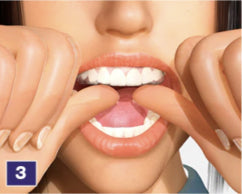
Center film and place against teeth at gum line.
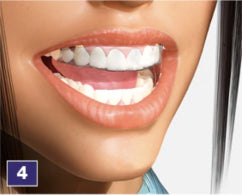
Fold film to back side of teeth. Press firmly on all surfaces. This ensures proper placement for a secure no-slip fit.
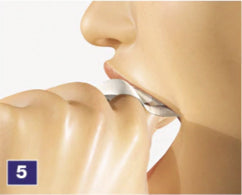
Wear 30 minutes (In-Office strips). Removal prior to that time may result in film coming off in pieces. Rinse with warm water before removal.

To remove, grasp one corner and pull down away from front of teeth, then push film away from back of teeth. Brush or rinse away any remaining gel.


All Practice Solutions is a trusted provider of high-quality dental solutions. We specialize in CBCT scanners, dental microscopes, digital imaging solutions, dental chairs, X-ray generators, and more to meet the needs of modern dental practices. Additionally, we also provide expert dental SEO, website design, and digital marketing services. Learn more through our Privacy Policy, Refund Policy, Terms & Conditions, Terms of Service, Cookie Policy & Accessibility Statement for support and assistance. Contact us today for innovative solutions and expert services!
Powered by
 Sitemap © Copyright 2026 - All Rights Reserved
Privacy Policy |
Terms and Conditions
Sitemap © Copyright 2026 - All Rights Reserved
Privacy Policy |
Terms and Conditions
